Review: Getting crafty with Cricut
You might remember that one of my New Years Resolutions is to get crafty and to help me along I have been taking on a few projects since January. I have always enjoyed crafts, even as a child my mother got me and my sister involved in all sorts of crafts such as quilling, decoupage and knitting.
When I was offered the chance to try the new Cricut mini* – a gadget which looks like a printer but instead of ‘printing’ things it cuts out shapes from card and paper to use in crafty projects such as card making, scrapbooking and all sorts of other projects I knew that I would just have to give it a go. One of a range of Cricut cutting machines the Mini is small and lightweight which is great if you need to pack up your crafting zone rather than leaving it out all the time.
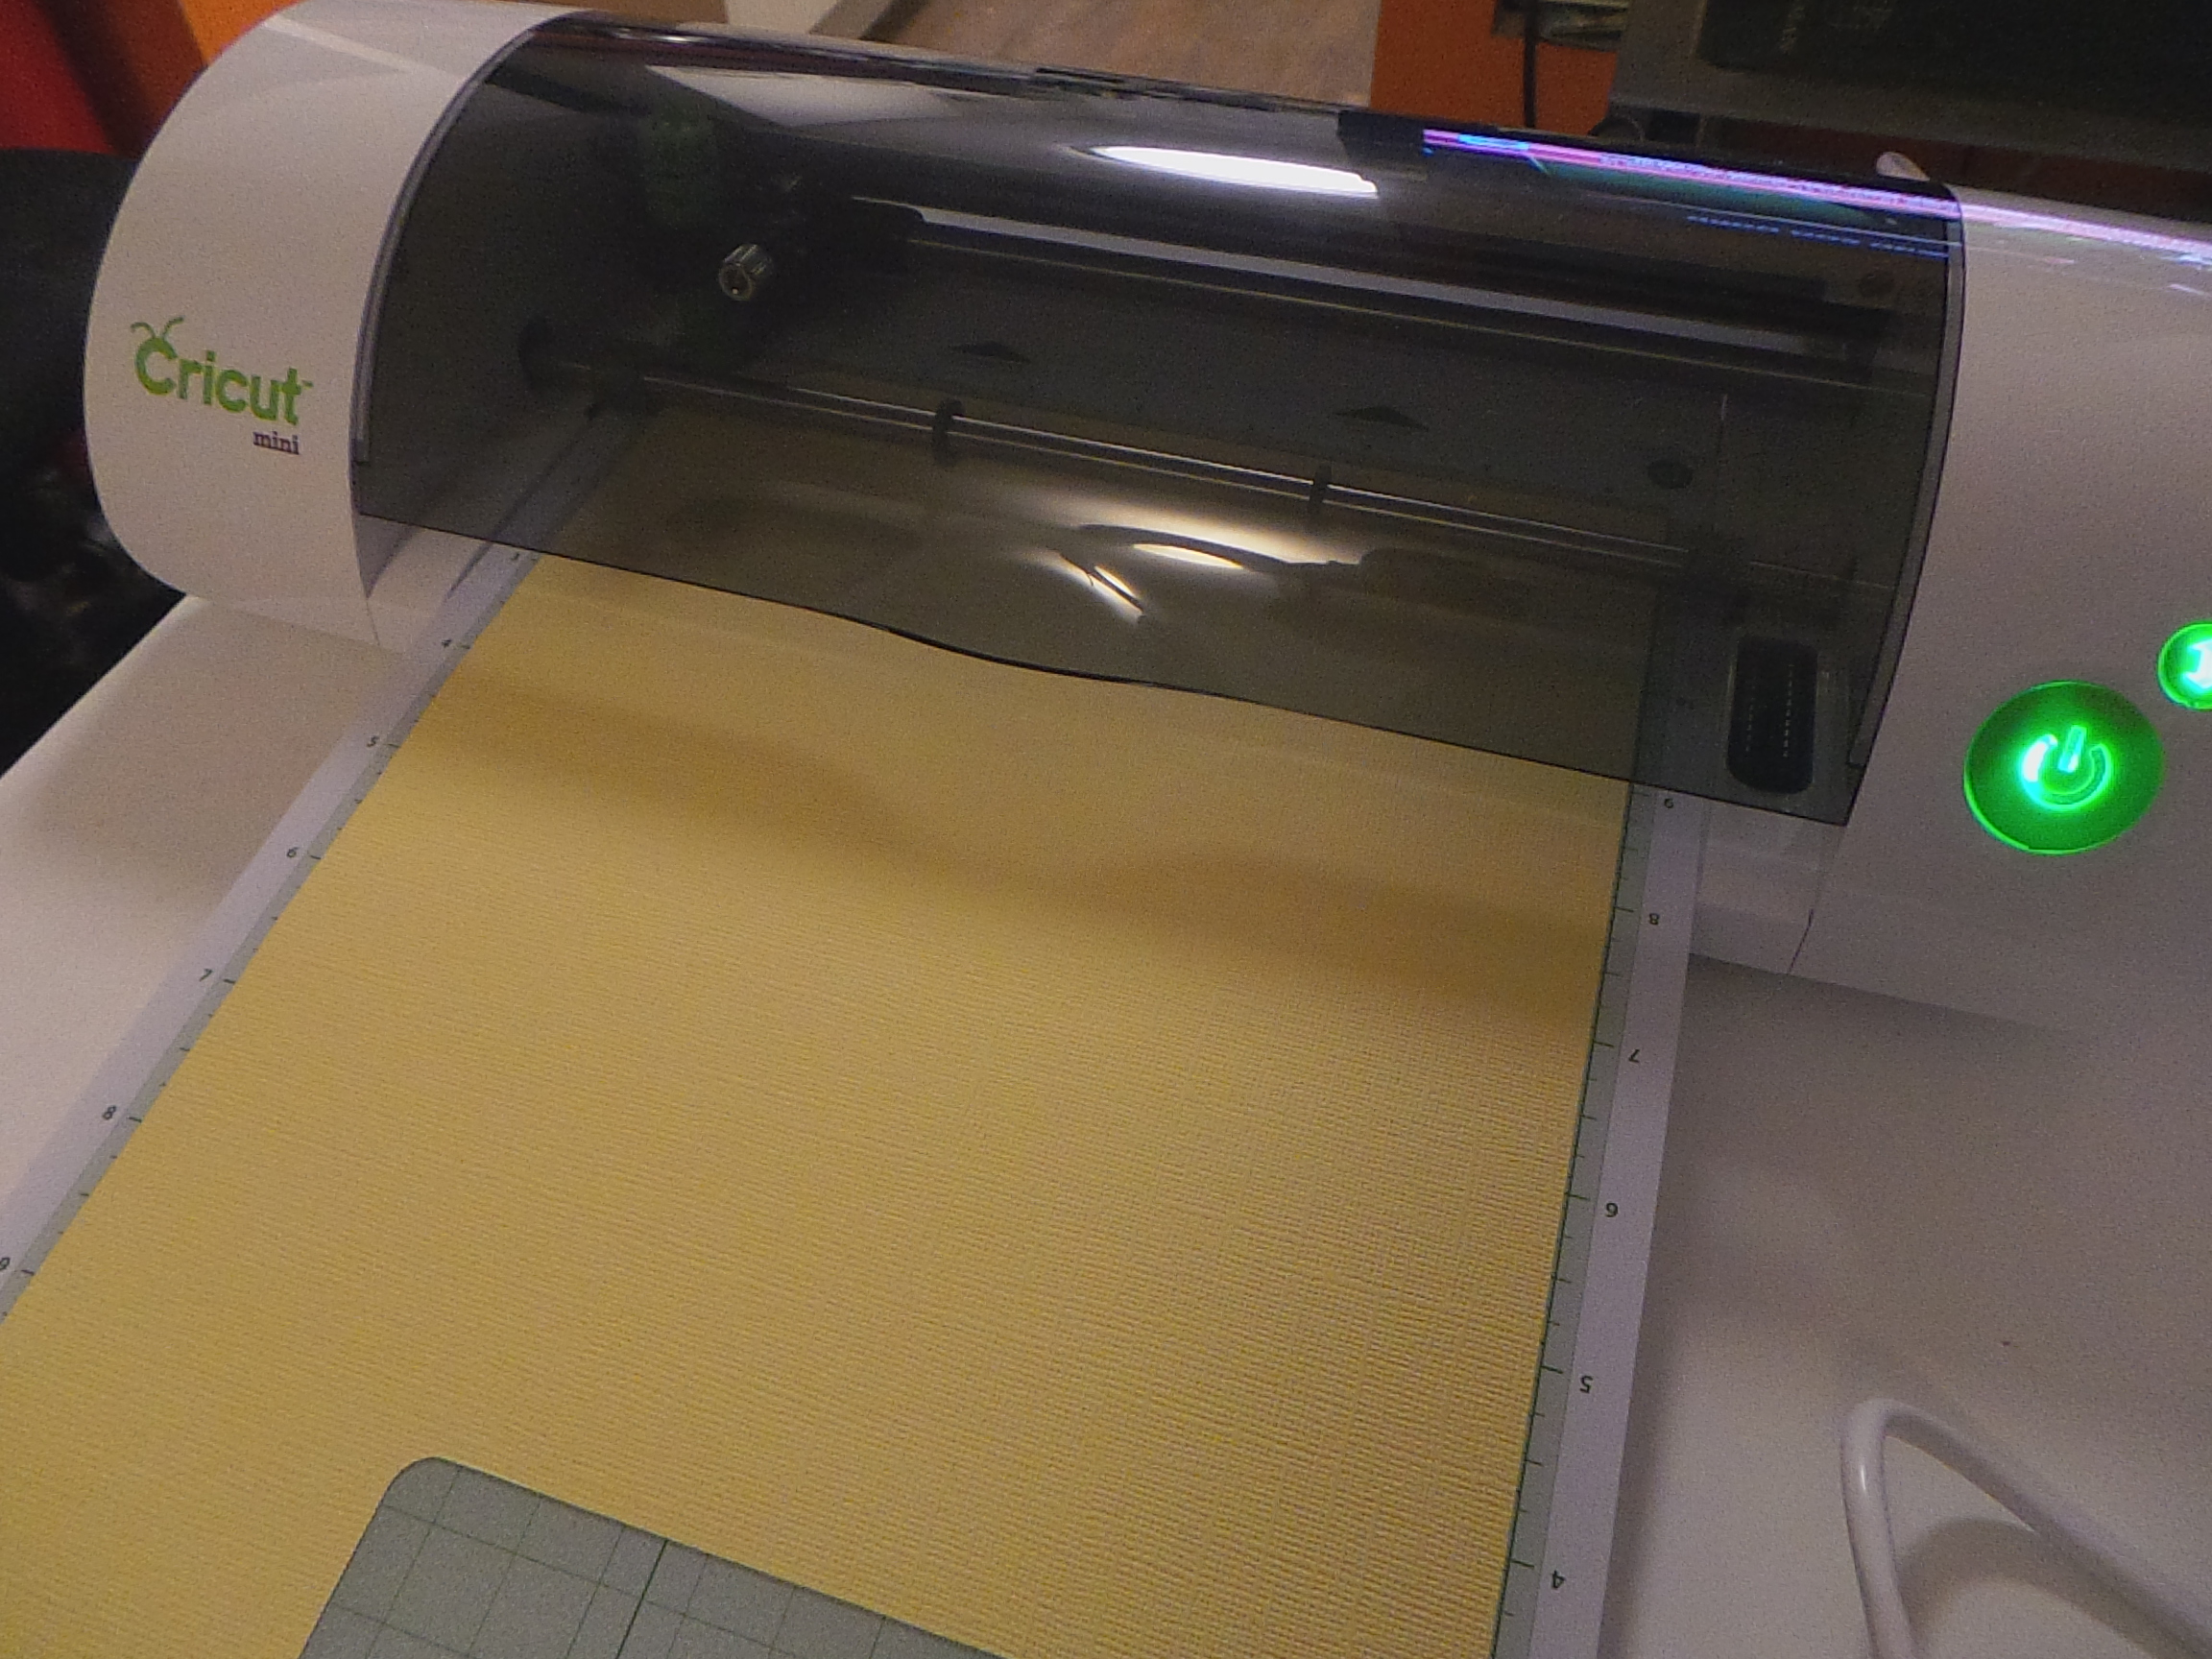
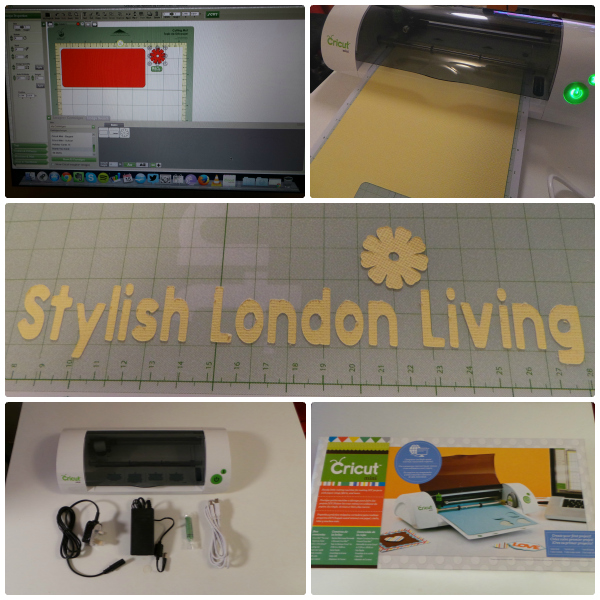
The Cricut is easy to set up, and works with both Mac and Windows operation systems (good for me as I have a macbook air and a shiny new Windows Surface Pro 2 that I got for Christmas). Just like a printer it plugs both into your power socket as well as your computer via a USB connection – you can see in the picture above the Cricut machine and it’s connecting cables which are simple and easy to set up.
To use the cutter you simply navigate to the online Cricut Craftroom where you can choose from over 500 free images and 40 project ideas.To add to your library of Cricut images, you can buy additional digital images from the website. If you don’t want to buy more shapes, there’s no need to be stuck with only the free projects available, you are also able to choose any of the 500 shapes to make any combinations that you wish to use for your craft projects.
Once you’ve selected the shapes for your design you simply choose your materials. The Cricut Mini is pretty flexible, and cuts a variety of papers and cards such as cardstock, vinyl, vellum, fabric, chipboard, and thin foil at sizes as small as ¼” and as large as 11 ½”. This flexibility means your designs can come to live via different materials of different thicknesses to make the perfect project.
So now you have your design and your materials chosen the next step is to place the card or paper onto the sticky mat which loads into the front of the machine, set the depth and speed for the cutting blade (based on your choice of materials) and select go on the Craftroom option. The machine then comes to live and cuts your design into the material. Once done you simply remove the mat, peel off the cut out shapes and assemble your design.
Check out my simple Stylish London Living cut out in the pictures above. It took a few tries to size the font using the Craftroom but once I had it sorted the rest was easy. I really look forward to projects to come – home made gift tags, Christmas Cards and more! The Cricut Mini is a great tool for any crafter looking for some help making exciting home made projects and enhancing any home, party or gift. I give the Cricut a 4 out of 5.
![]()