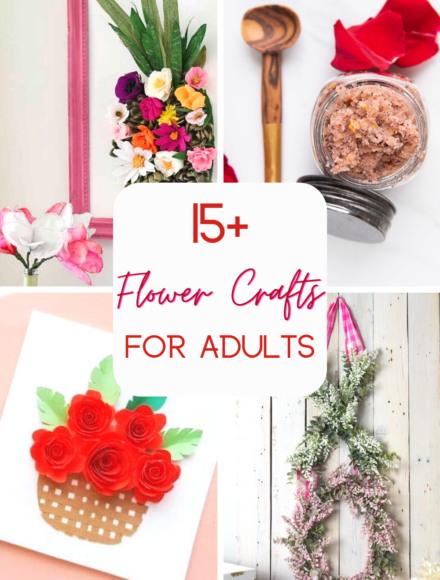
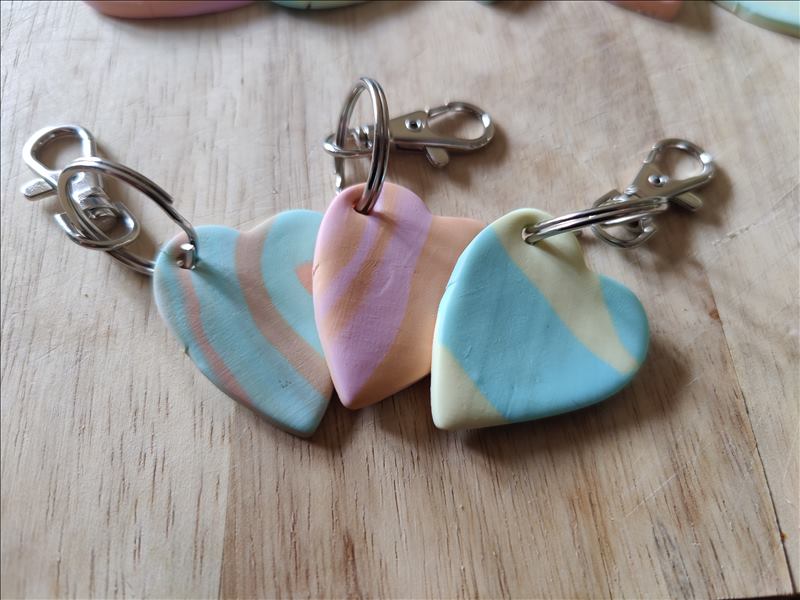
DIY: FIMO Clay Heart Keyrings
During the lockdowns of 2020, I tried my hand at a few new crafting techniques which I had heard of but never really had the time or will to try out. One material that I hadn’t really used much of before was modelling clay which can be fired in an oven at home.
Having been inspired to give it a go after watching a craft show on TV I did a little research into the materials I would need and settled on making some keyrings to give out to the ladies in the local WI community in the hopes of bringing smiles to some otherwise worried and lonely faces during the pandemic.
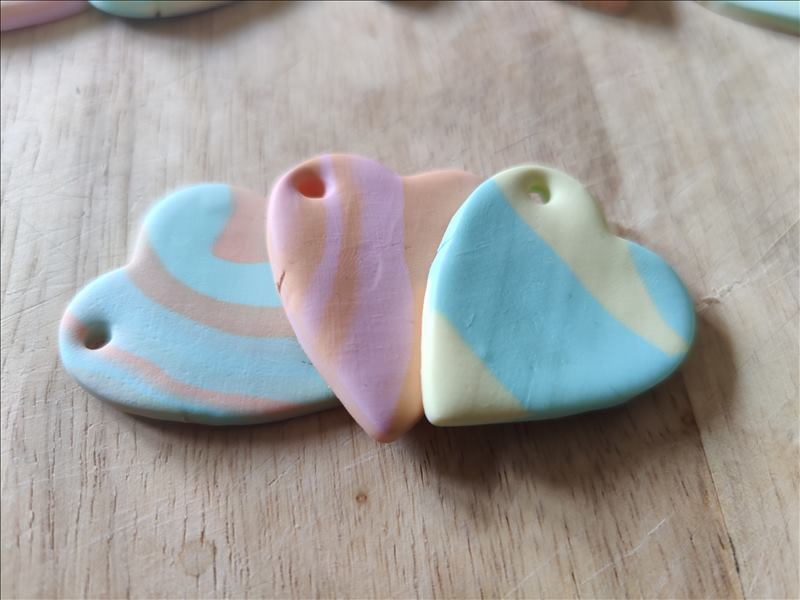
Despite being a little terrified of making mistakes, the process was very simple and I found great satisfaction in making different patterns by combining the different coloured clays to make unique designs.
Of course, you can make these keyrings in any shape and colours that you like! Perhaps make a selection of pumpkin keyrings to give out to trick or treaters or even festive designs for Christmas stocking fillers. The options are endless. So, break out the rolling pin and clingfilm and have some fun!
Supplies
- FIMO Effect Polymer Oven Modelling Clay (various colours, I used pastel shades)
- Heart-shaped cutter
- Rolling Pin
- Cling Film
- Pencil/ cocktail stick
- Key Ring Clips
- Wet Wipes
Instructions
- First, you will want to cover your work surface to stop the clay from sticking, a layer of cling film works just fine.
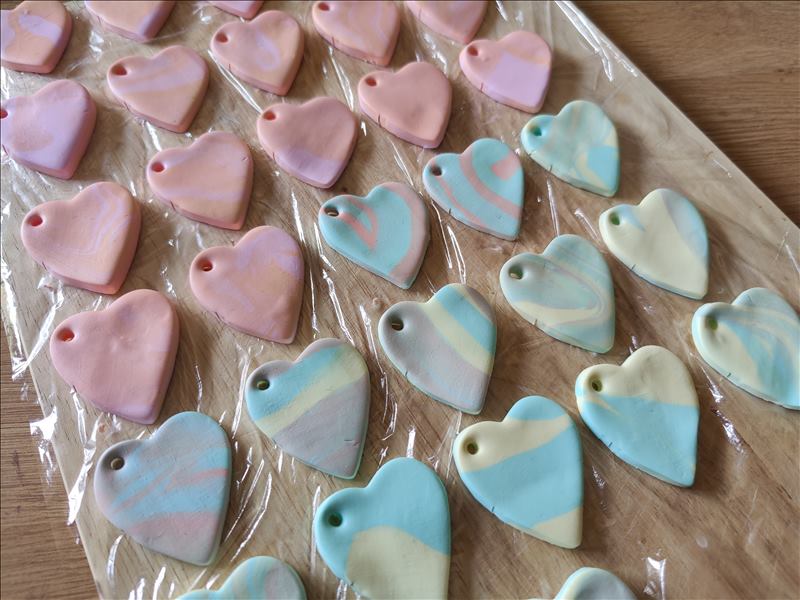
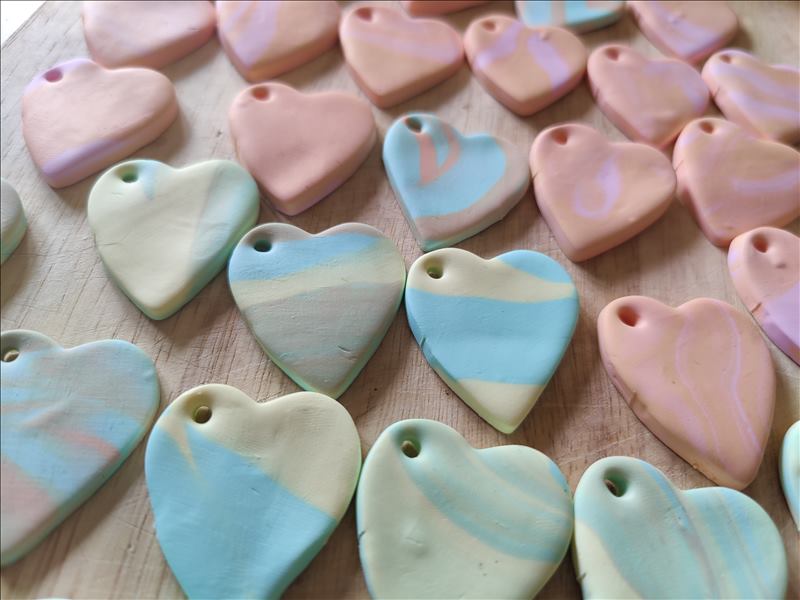
- Choose what colours you want to use for your keyrings and warm up the clay by rolling it around between your hands for a few minutes.
- You can use individual colours for your keyrings or combine several colours to mix to make multi-coloured keyrings. You can create many different patterns by laying different colours next to each other, or layering colours. Important tip: be sure to clean your hands with wet wipes to keep them from staining, and to stop colours from transferring to your clothing etc.
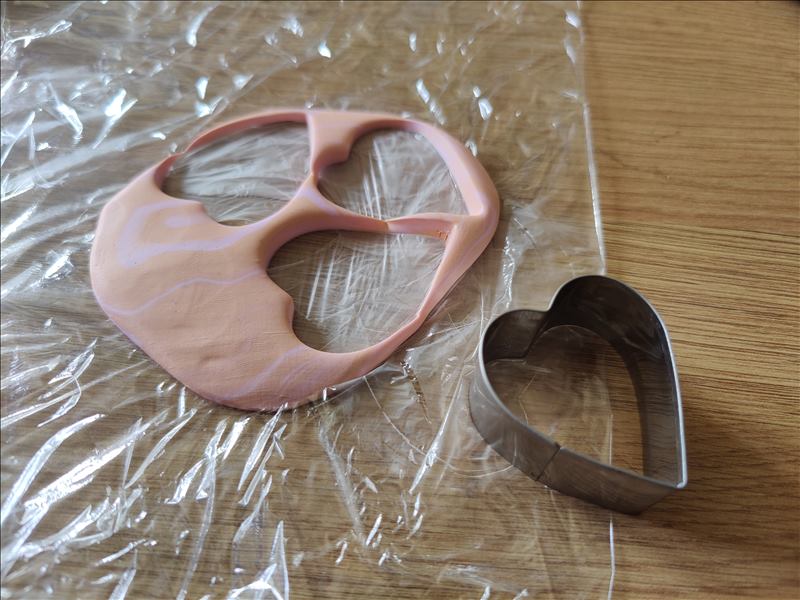
- Roll out the clay on your protected surface – the clay will not shrink during firing so roll it to the desired thickness for your finished keyring.
- Use a cutter to cut out your shapes, making sure to position the cutter for the best colour effect if using multiple colours.
- Gently poke a hole at the top of each shape with a pencil or cocktail stick. This will be where the keyring attachment will go through so make sure the hole is the correct size.
- Bake your clay shapes at 100ºC for 30 minutes.
- When the clay is completely cooled you can add your keyring attachment. Open the jump ring, push it through the hole then close the ring. Pliers help to make sure it is properly closed.