Five Tips for Easier Home Improvements
When you’ve got a home improvements project planned, it’s tempting to dive right in and get cracking. But wait a minute, because with a bit of planning you can make sure the result is exactly what you wanted, and that the process goes as smoothly as possible.
Create Your Plan
Planning for even small home improvement jobs help you get the job done easier and faster. You don’t have to go into minute details for small projects, but even for little jobs you need to know what result you want and which materials to buy.
The bigger the project, the more planning you’ll need to do, such as if you need to hire professionals for, say, plumbing, electrics or building work.
So, before you lift a paintbrush, think about the size of the project and how long it’ll take, then add some because things always take longer than you expect. Will you need childcare or time off work? Managing home improvements around work can be tough. It’s hard to start physical work again after a long day.
Other considerations include cost. Try and price up the materials you’ll need in advance so you can buy it all at once rather than risk running out of money before the job’s done – or find yourself a couple of feet short of wallpaper.
Make a Plan B
Your plan B is your contingency plan in case things go wrong. The bigger the project, the more risk there is that things might not run completely smoothly.
Maybe your electrician can’t come on the date agreed so other contractors can’t do their bit as scheduled. Or maybe your childcare falls through and you need to find an alternative, or you can’t get the time off work after all… only you can identify potential problems and come up with alternatives just in case.
Make a list of all the things that might go wrong, starting with the most problematic. Decide how likely it is that this will happen, and what you’ll do if it does. If it’s something like childcare, could you have a second person who’s willing to stand in if they’re needed?
There are some things you just can’t anticipate, such as accidentally putting a nail through a water pipe, but you could have the number of a local plumber to hand, just in case.
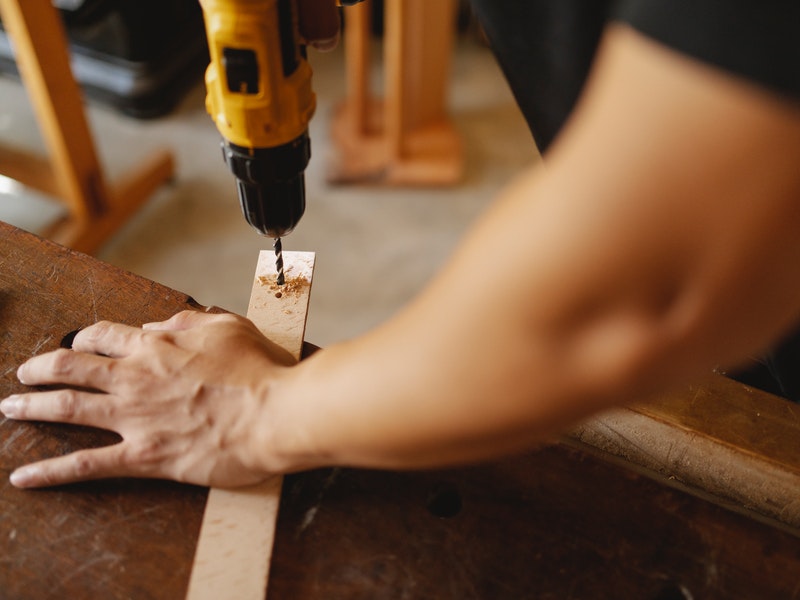
Collect Your Materials
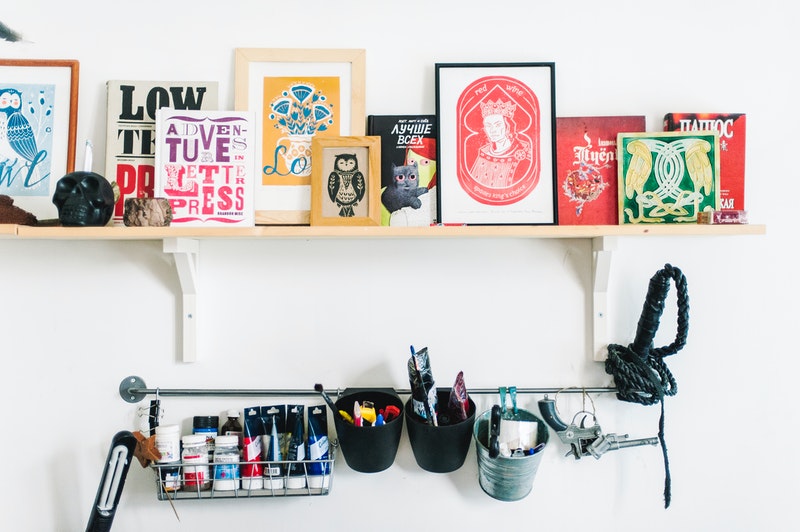
Make sure you’ve got everything you need before you start, from power tools to masking tape. It’s very frustrating to have to run to the hardware shop halfway through because you ran out of something or don’t have the right size drill bit.
It’s a good idea to take stock of your tools and start gathering materials well in advance. If storage is a concern, using self storage for home improvements can help you keep everything in one place and get properly organised.
Manage Your Time and Space
Before you start, think about your timetable and work schedule while the job is in progress. It helps prevent interruptions and enables you to make headway a lot faster.
Little things can help, like making sure you have entertainment for children if they’re at home while you’re working. Giving them something to occupy them for a couple of hours can keep them from getting under your feet or potentially hurting themselves on equipment. Organise snacks and drinks ahead of time too.
Next, think about your working area itself. It’s annoying to have to stop every few minutes to move furnishings or possessions out of the way. For larger jobs that involve more upheaval, consider packing your valuables up and putting them into self storage for safekeeping. This includes furnishings you want to protect. You’ll do a better job when you’re not worried about paint splatters on the sofa, and you won’t have to work around mounds of household items piled up in the middle of the room.
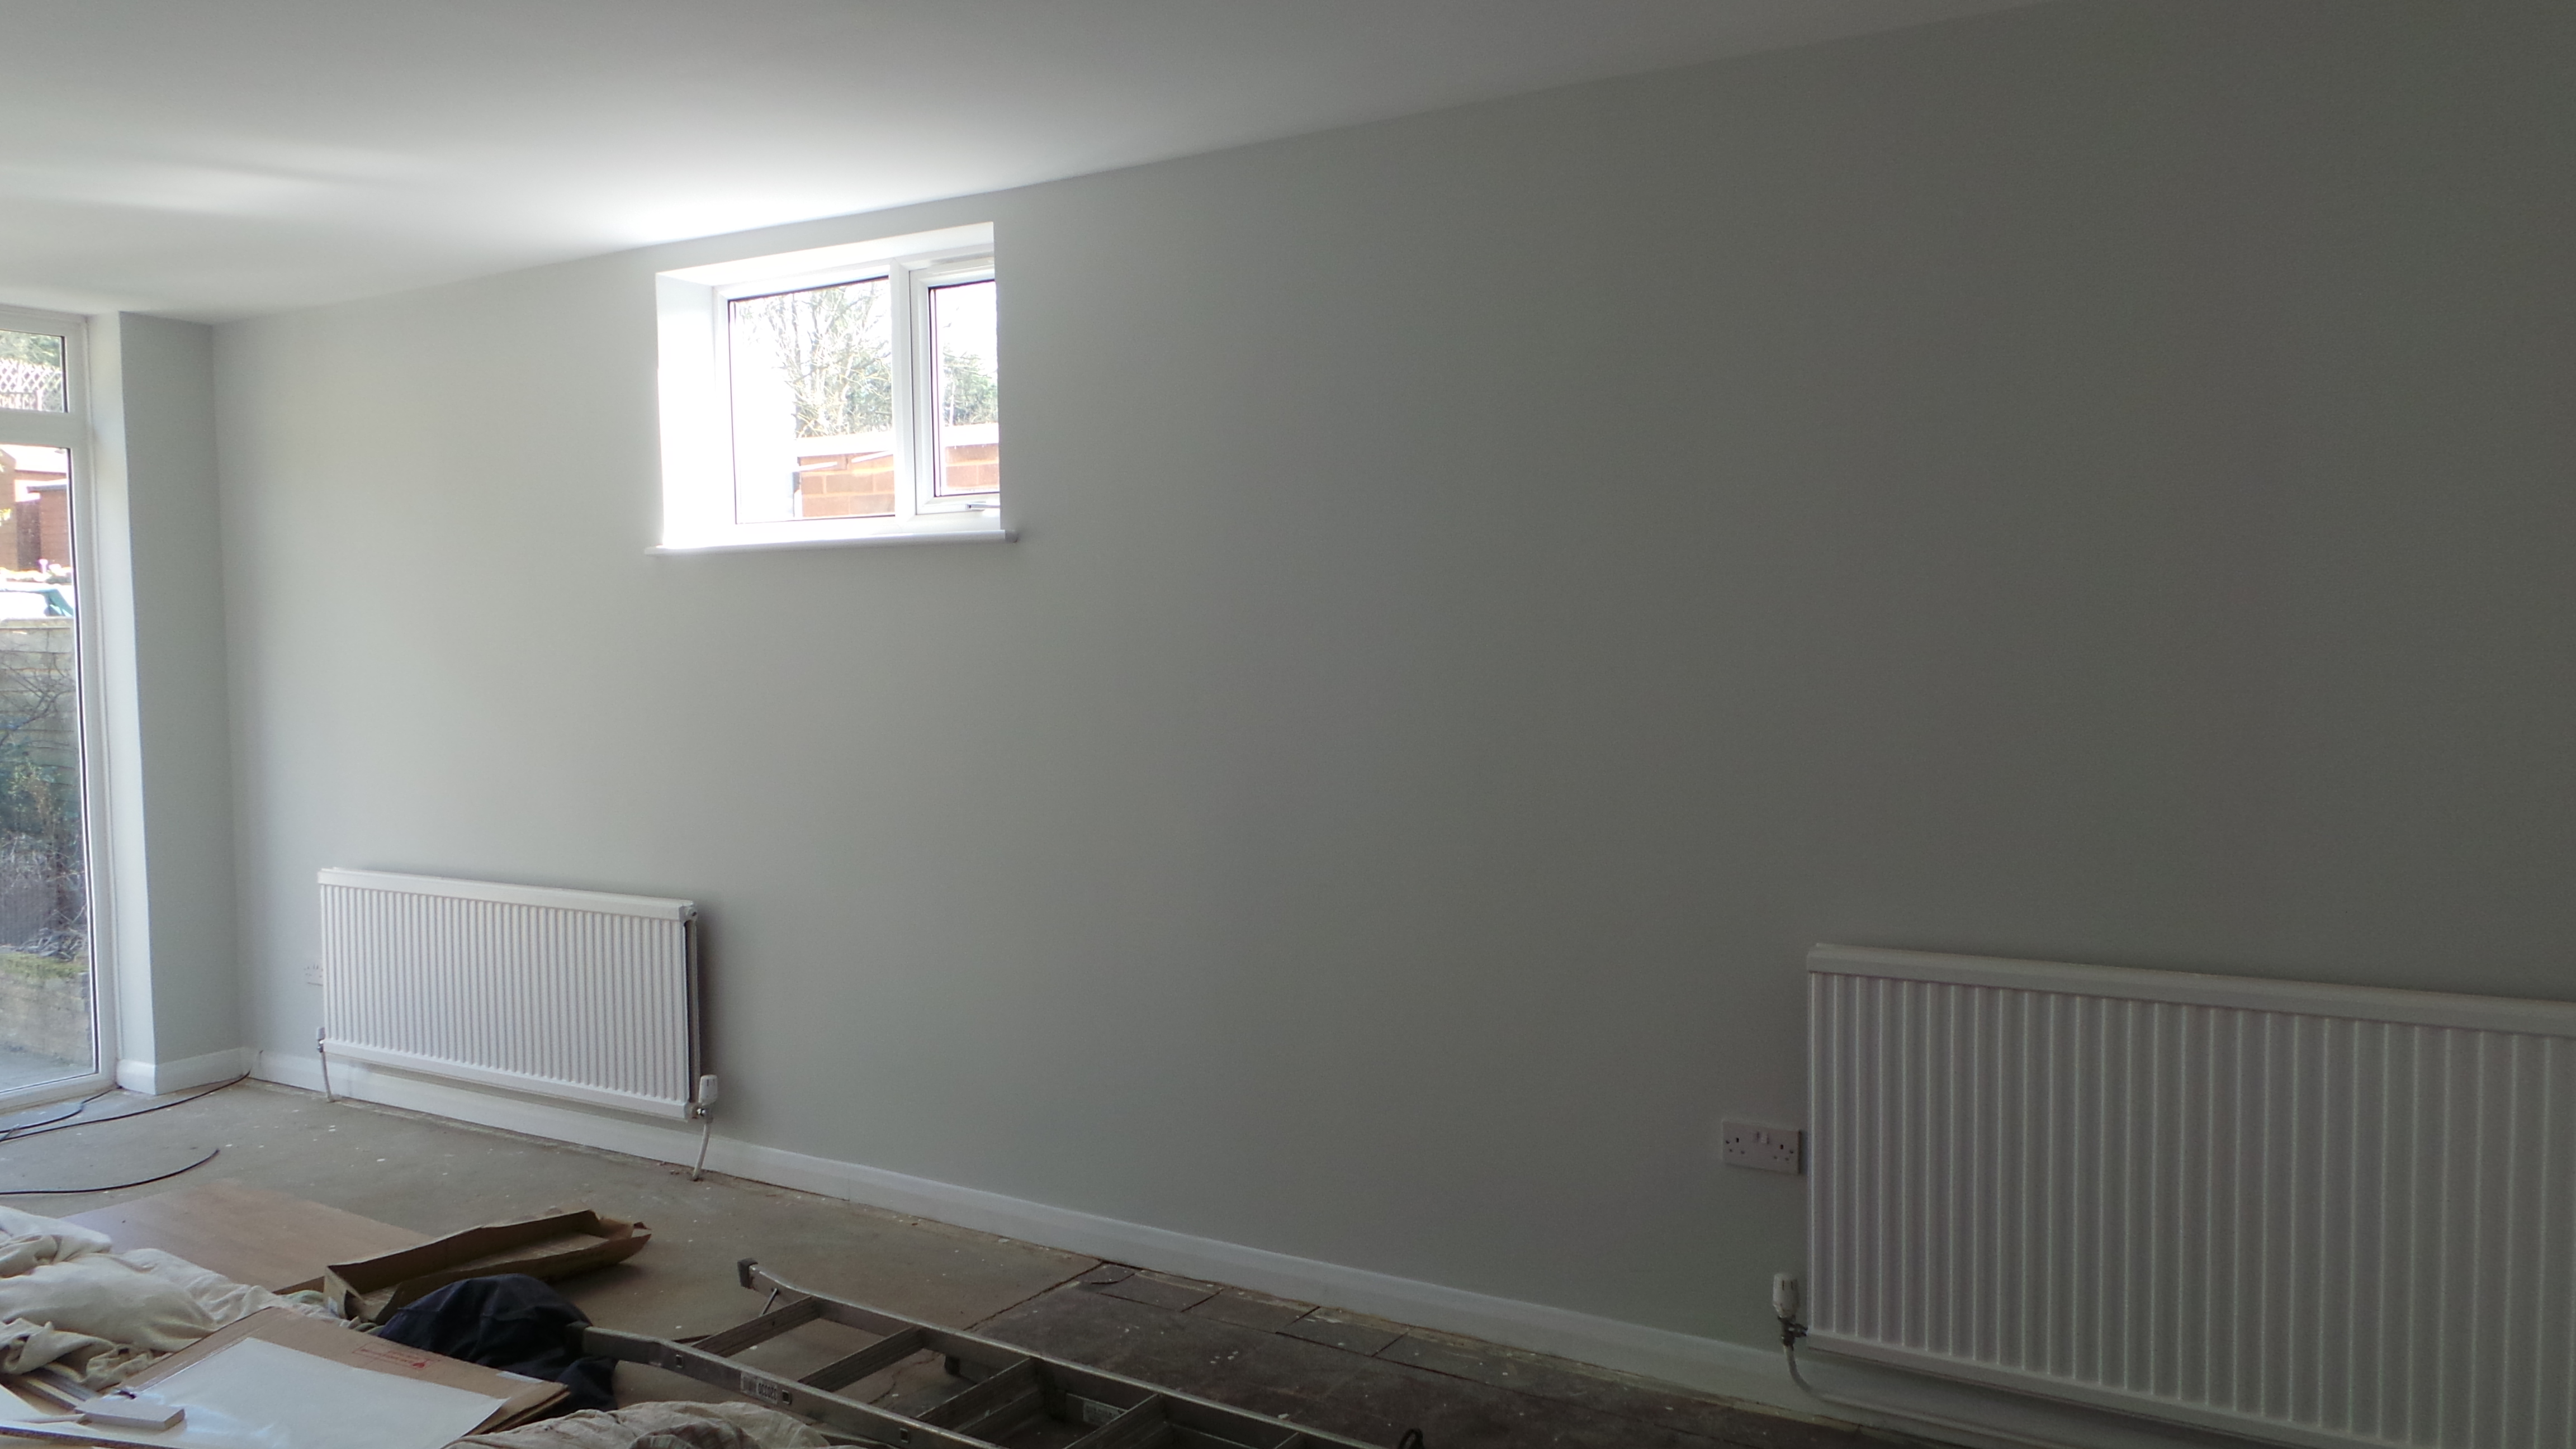
Complete Tasks in Order
Once everything is prepared, make the job easier by making logical progress through the job.
- Work from the top to the bottom, so start with the ceiling.
- Do the walls next.
- Move onto skirting boards.
- Tackle the door and window frames.
- Do the doors themselves last.
Working in this order makes sure you don’t accidentally undo what you’ve already completed. It’s very annoying and disappointing to drip paint on fresh wallpaper while you’re painting the ceiling, for example.
If you’re new to DIY, tackle a small project first to help build your skills and give you some idea of how long it takes. As you move onto larger, more complex or involved projects, use all the tools at your disposal to make it easier, from self storage rooms for your tools and materials, to help from friends for childcare and from employers with time off.
Home improvements are very rewarding. Tackling stages in the right order and doing some initial planning sets you up for the very best outcome and the satisfaction of a job well done.