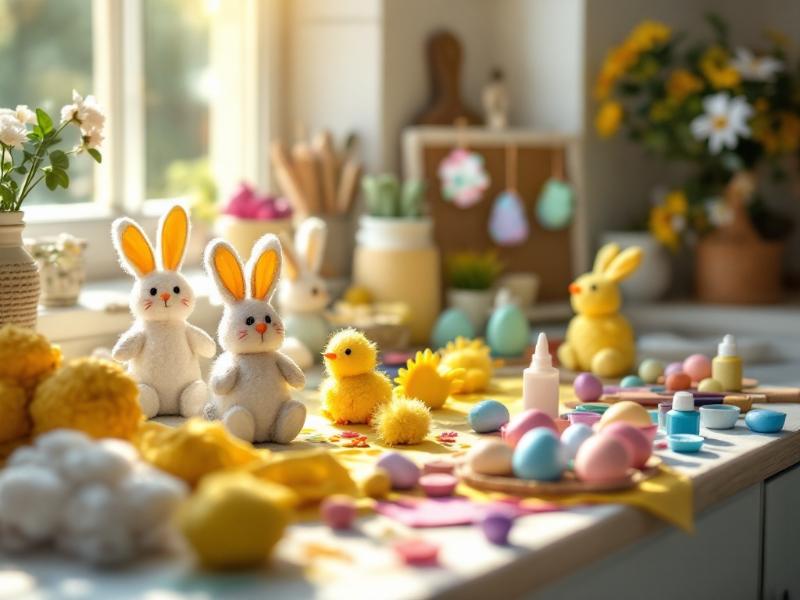
Easter Crafts to Make with Toddlers Using Household Items
As I watch my two-year-old daughter enthusiastically stick another piece of coloured paper to our coffee table (instead of her craft project!), I’m reminded of how crafting with toddlers is always an adventure.
Since becoming a mum, I’ve learned that the best crafts are simple, engaging, and most importantly, achievable with items you already have at home. Steve often jokes that our lounge has become more of a craft studio these days, but seeing our little one’s face light up when she creates something is worth every sticky moment!
Here are my tried-and-tested Easter crafts that are perfect for toddlers, using items you probably already have tucked away in your cupboards.
Cotton Wool Bunny Pictures (Our daughter’s current favourite!)
You’ll need:
- White cotton wool balls
- Coloured paper
- Child-safe glue
- Googly eyes (optional)
- Black marker
- Paper plate for the glue
Method: Last weekend, Steve helped our little one create what she proudly calls her “fluffy friend collection.” Simply draw a basic bunny outline on coloured paper and let your toddler stick cotton wool balls within the lines (or thereabouts!). Add googly eyes or draw them on with marker. Pro tip: Place the glue in a paper plate with a shallow rim – it contains the mess and makes it easier for little hands to dip the cotton wool.
Egg Carton Chicks (Perfect for recycling those empty egg boxes!)
You’ll need:
- Empty egg cartons
- Yellow paint
- Orange paper (for beaks)
- Googly eyes
- Child-safe scissors
- Glue
Method: Cut individual cups from the egg carton (adult job!) and let your toddler paint them yellow. Once dry, help them stick on orange paper beaks and eyes. My daughter insists on naming each chick – we currently have a collection including “Beaky,” “Yellow,” and inexplicably, “Spaghetti.”
Handprint Easter Flowers (Warning: This one can get messy, but it’s worth it!)
You’ll need:
- Plain paper
- Washable paint
- Green paper
- Glue
- Wet wipes (lots of them!)
Method: Help your little one make handprints with spring colours (we use pink, yellow, and purple). Once dry, cut out the handprints and arrange them like flower petals. Add green paper stems and leaves. Steve’s top tip: Put newspaper down first – we learned this the hard way when our daughter decided to make “extra flowers” on the table!
Easter Egg Salt Dough Decorations (A classic that never fails!)
You’ll need:
- 2 cups plain flour
- 1 cup salt
- 1 cup warm water
- Paint
- String for hanging
- Cookie cutters (egg-shaped if you have them)
Method: Mix ingredients to make the dough (toddlers love this part!). Roll out and cut egg shapes. Make a hole at the top for string, then bake at 120°C for 2-3 hours. Once cool, let your little one paint them. Our daughter’s favourite part is sprinkling them with glitter – though I’m still finding sparkles from last Easter!
Tissue Paper Easter Windows (Perfect for rainy day activities)
You’ll need:
- Tissue paper in spring colours
- Contact paper
- Scissors
- Easter-themed templates
Method: Cut Easter shapes (eggs, bunnies, flowers) from contact paper. Let your toddler stick tissue paper pieces onto the sticky side. Hang on windows for a stained-glass effect. My daughter loves pointing out her “rainbow eggs” to everyone who visits!
Tips for Crafting with Toddlers
Preparation is Key
- Set everything up before announcing craft time
- Wear old clothes (trust me on this one!)
- Cover surfaces (Steve still mentions the “Great Paint Incident of 2024”)
- Have wet wipes and kitchen roll readily available
Managing Expectations
- Remember, it’s about the process, not perfection
- Let them explore materials in their own way
- Be prepared for activities to last 5 minutes or 50 minutes
- Have a backup craft ready (toddler attention spans are unpredictable!)
Making It Educational
- Talk about colours and shapes
- Count items together
- Discuss Easter traditions
- Practice following simple instructions
Keeping It Safe
- Always supervise
- Use child-safe materials
- Keep scissors and small items out of reach
- Use non-toxic, washable paints
Storage Solutions (Because toddler crafts multiply mysteriously!)
- Create a special display area
- Take photos of temporary creations
- Rotate seasonal decorations
- Send some to grandparents (they love receiving handmade gifts!)
Making Memories
These crafting sessions are about more than just creating decorations – they’re about making memories. I love watching our daughter’s concentration face as she carefully (or not so carefully!) places each cotton wool ball, or hearing her giggle as she squishes paint between her fingers.
Final Thoughts
Remember, crafting with toddlers is messy, unpredictable, and sometimes chaotic – but it’s also magical. Don’t worry if your creations don’t look Pinterest-perfect; the joy is in the making, not the end result.
These activities have become some of our favourite family moments. Whether it’s our daughter proudly showing off her latest masterpiece to grandparents, or finding tiny handprint flowers stuck to unexpected surfaces weeks later, each craft session creates lasting memories.
Have you tried any of these crafts with your little ones? I’d love to hear about your experiences – especially the messy ones! Share your stories or your own craft ideas in the comments below.
[Note: Always supervise young children during craft activities and ensure all materials are age-appropriate.]