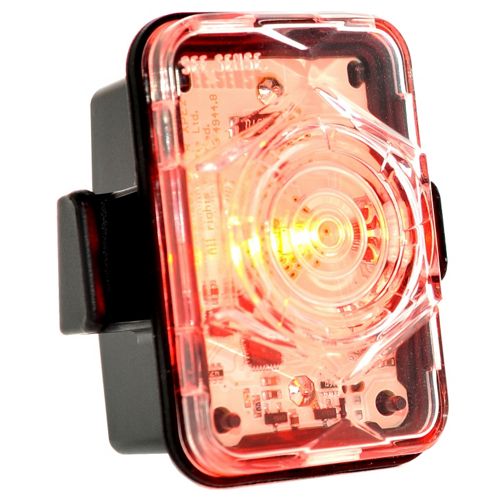
Review: See Sense rear light
I have been cycling in London for about 5 years now and during that time I’ve used a number of rear lights. Things started off with a “very affordable” set from Argos and after some time I moved onto Cateye.
Those pesky battery powered lights were always running out of battery at the worst time (Is there a good time?) and so I moved onto USB charged options. There are some cracking little examples out there, and they can certainly be bright. At the same time, bright lights that are constantly on use a lot of energy (even on flashing mode), so either you’re changing batteries frequently or you’re charging every single day.
Super-bright lights are great for visibility but we don’t need that level of visibility at all times. Here’s where the seesense rear light comes in to try and solve the problem of excessive power consumption. I think is solves it very well, by providing a very bright strobing light, which varies in strobing frequency depending on the bicycle’s speed and the presence of front lights behind the rider. In other words, the light uses more power when it’s necessary, and the minimum amount of power when it is not needed. This doesn’t just work in theory – I have seen the a real difference in running times between the seesense rear light and a well-reputed USB-chargeable (currently unnamed) light that I also own. Seesense also responds to factors such as light level and road surface. A full list of features can be found on their site: Seesense features list
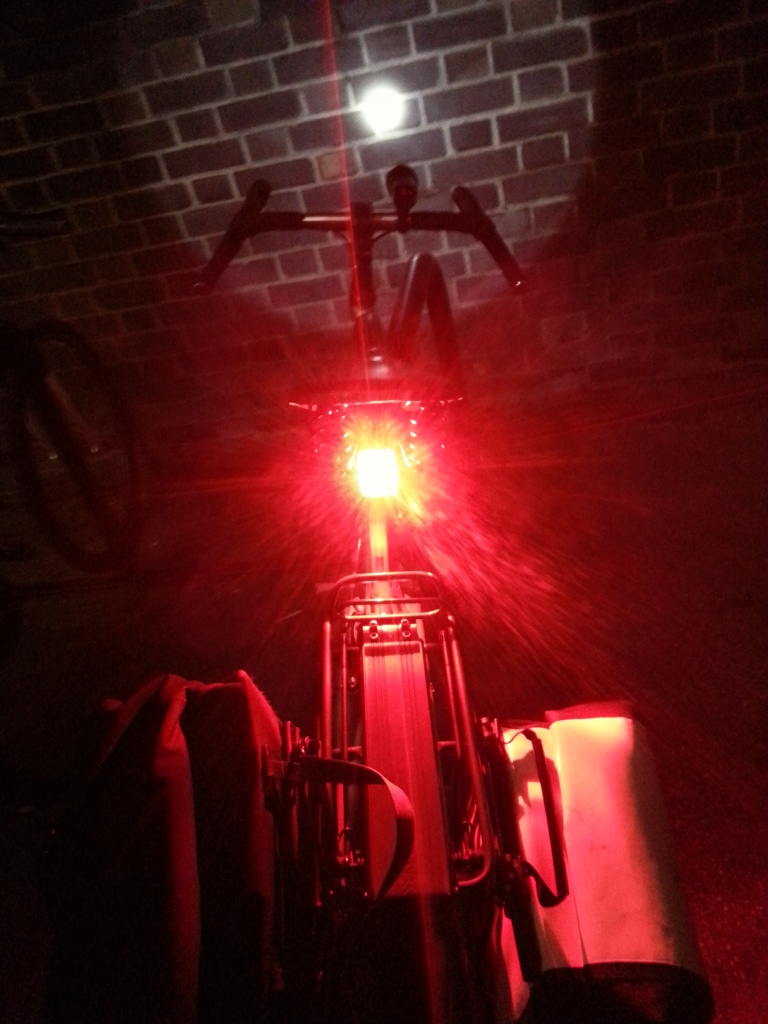
The brightness of the rear light can be appreciated, hopefully, in the picture below:
Finally, I love and hate the lack of buttons simultaneously. The fact that the light is controlled solely through hand gestures means that waterproofing is taken to a whole new level. Switching the light off is easy enough, just point the light towards the ground. What’s great about this is that you generally have to take the light off the bike in order to switch it off. Sounds like a drag, but at least you won’t forget the light on your bike and have it stolen! Turning the light on is still something I am working on. There is a knack to it, and it has to be done slowly. This video helps a lot: https://www.youtube.com/watch?v=Rtwi9NN7VsQ
There are plenty of features that I haven’t written about here, including the fact that the light performs a self-diagnostic protocol every time it is charged, which means that if there is something wrong with the light, it will inform you. As well as this, it’s worth noting that there are different settings on the light which make it respond to different stimuli or none at all, so you can essentially have it flash every once in a while if you want, just like a “normal” light. I really like the the seesense website, for its videos, blog entries, and backstory of how seesense “came to light”.
Here is their latest video, which I really like: