DIY: Temporary Fashion Tattoo Plant Pots

Anyone who’s anyone is getting on board with the fashion temporary tattoo phenomenon this summer. With eye-catching designs ranging from metallic jewellery to intricate patterns which you can wear as individual pieces or stack for the ultimate look. With celebrities such as Sarah Jessica Parker and Beyoncé having rocked this look in the past temporary fashion tattoos are a great way to adorn your body.
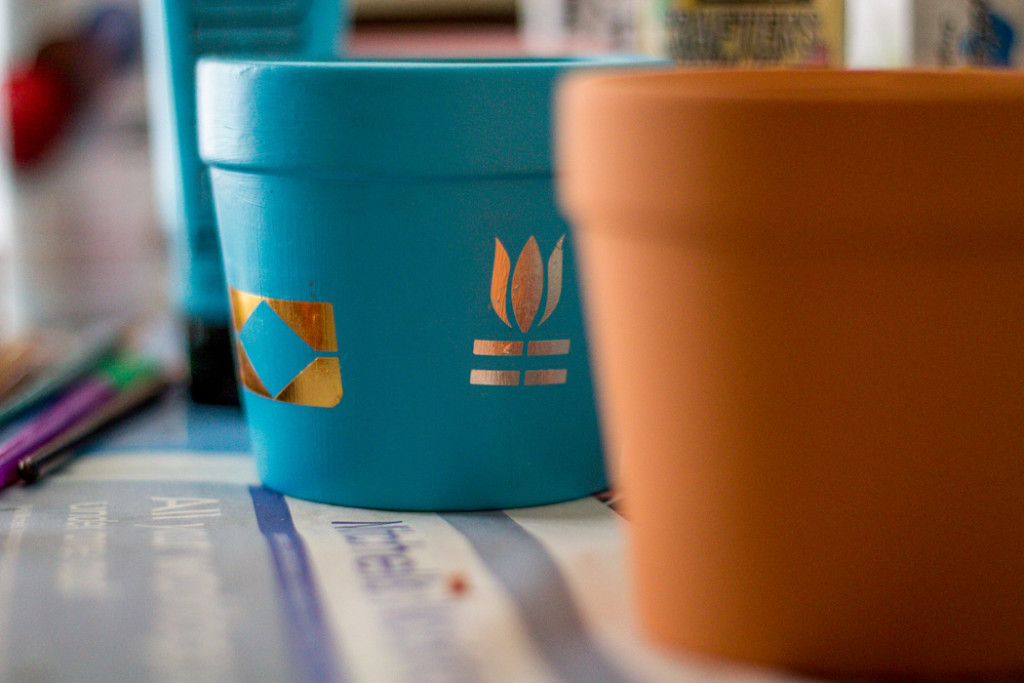
But, you don’t have to just use them on your skin! We were inspired by this idea from Hobbycraft using these elegant temporary tattoos to decorate a plant pot and bring it bang up to date.
You Will Need
- A terracotta pot (preferably clean/ unused)
- Temporary Fashion Tattoos in a design of your choosing
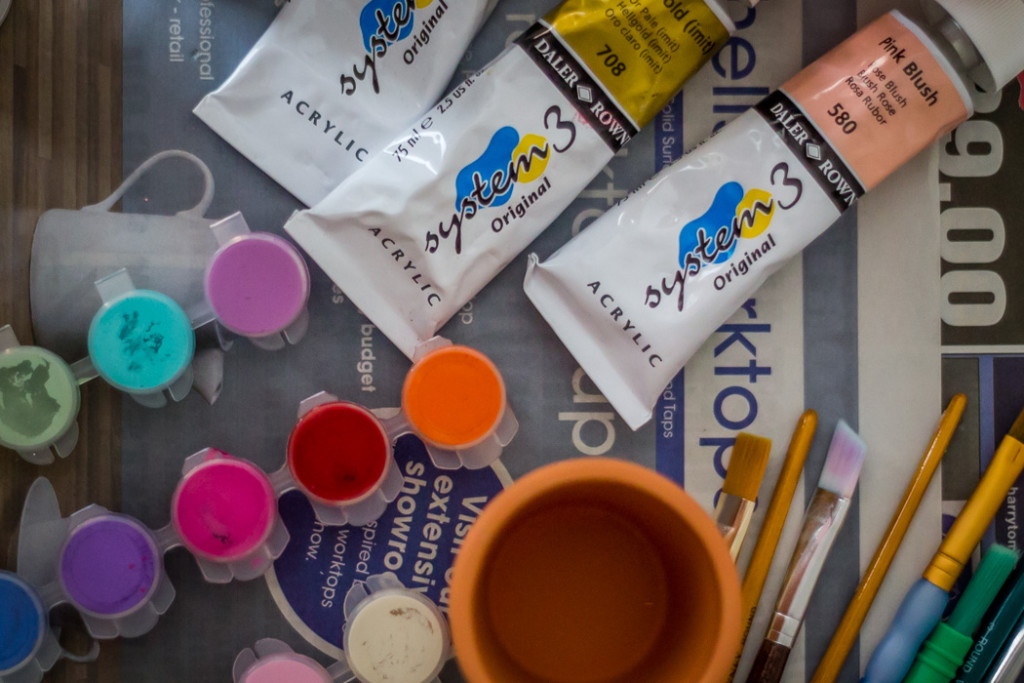
- Acrylic paints in your favourite colours
- A spray primer (optional)
- Paint brushes
- A sponge
Instructions
- Paint your pot using the acrylic paint in your choice of colours. After around 20 minutes this should be touch-dry. Apply one or two more coats to ensure the pot is completely covered. Don’t forget the inside lip! Leave to dry.
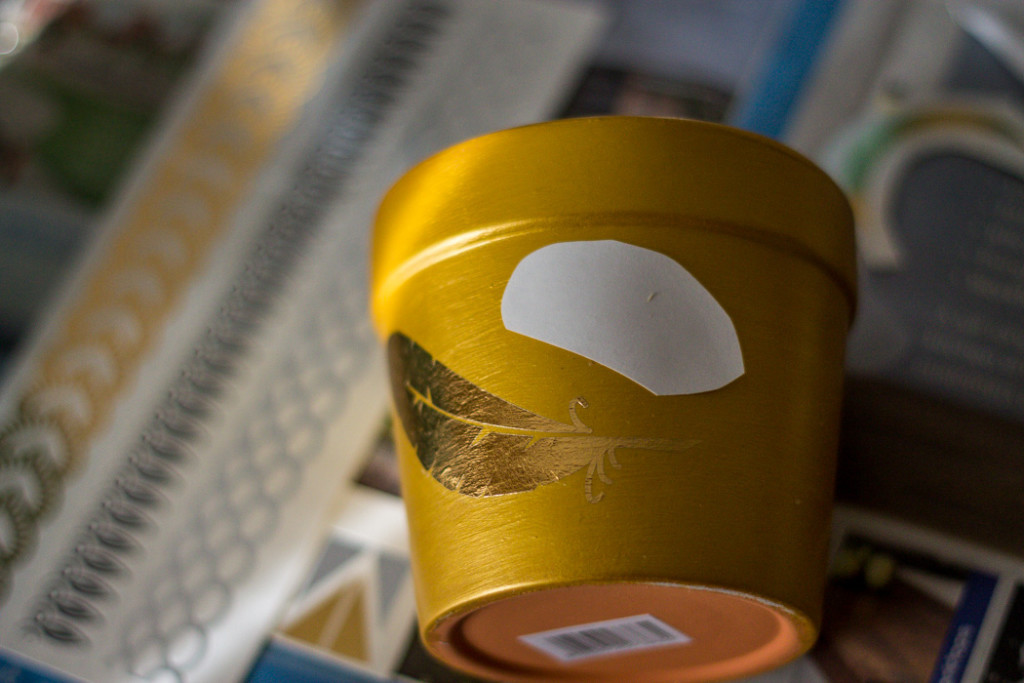
- Take the tattoo/s of your choice and peel off the protective plastic film and place on your pot. Once the film is removed the tattoo becomes partially adhesive so be very careful when placing it as any moving could leave parts of the design behind.
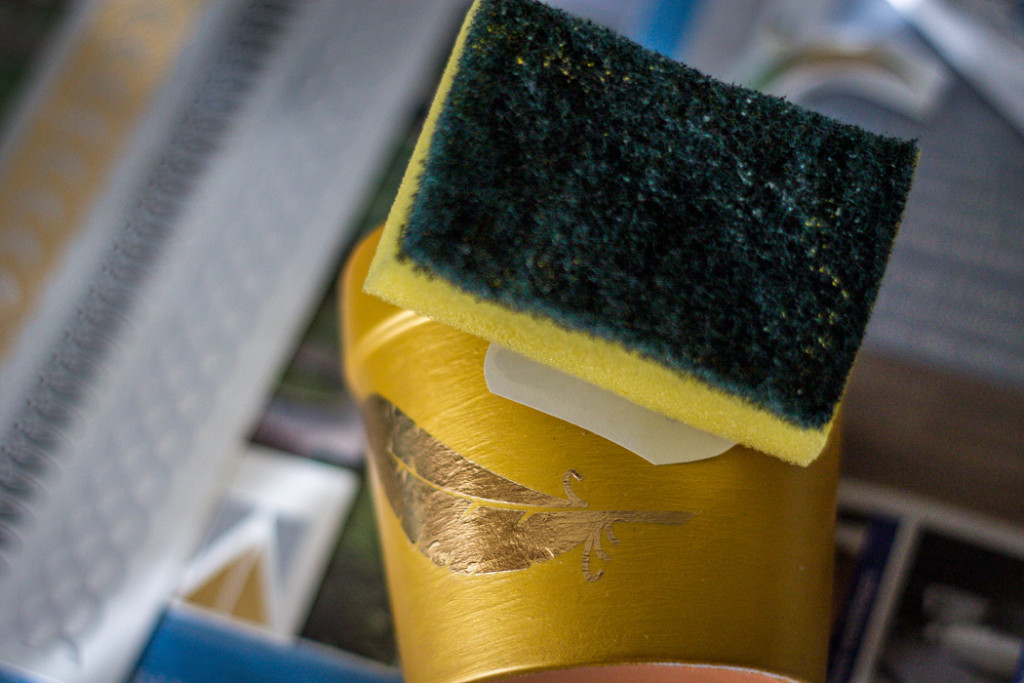
- Dab the back of the tattoo with a damp sponge until the backing paper is soaked through, pressing the paper for up to 30 seconds to make sure it’s stuck down properly.
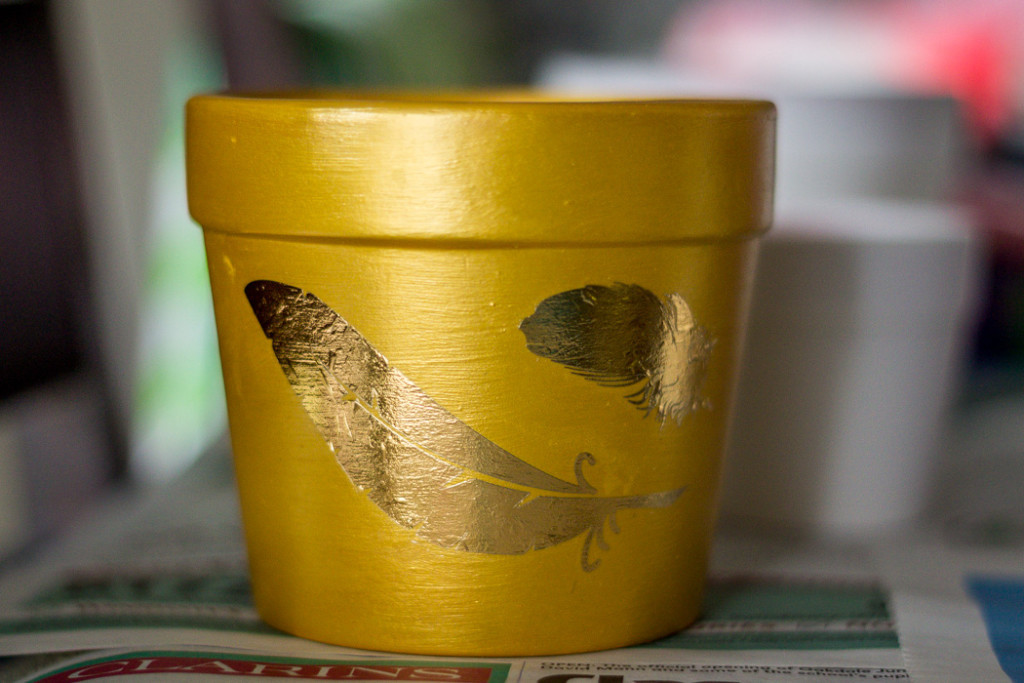
- Carefully peel away the backing paper and you’re done!
If you need something to put in your beautifully decorated pot click here for some botanical inspiration.
Top Tips
- If you’re plan is to place your gorgeous pots in the garden it’s recommended that you use a couple of coats of a glue sealer such as Mod Podge to ensure your design is protected from the weather.
- Temporary tattoos are designed to go onto flat surfaces, so you might get a few wrinkles or bumps. These can be smoothed out with your finger, but be gentle!
- You can apply an undercoat with a spray primer, this will create a smoother and more even finish which will help your acrylic colours really stand out.
- If you’d rather go for a more natural look try applying the tattoos directly onto the terracotta and forget the paint!

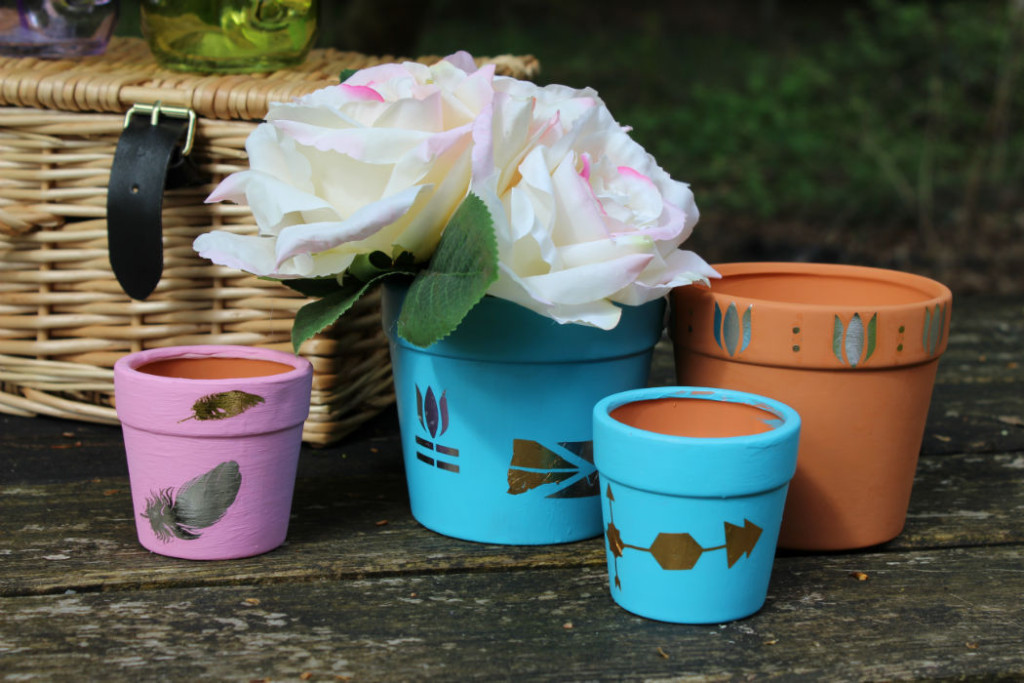
Photographs courtesy of Hobbycraft